I know that I have mentioned this before, but it is worth repeating, when you are looking at a quilt that you might like to make........pick it apart, that will help you to see just how easy or difficult it will be to make. So while I was putting together the June block for the Tonga Rhapsody quilt I decided that it would be nice to show a few photos of the pieces in segments............
In this photo you can see that the corner segments are made up of three half square triangles and one four patch, the center is just a square and the middle segment is made up of a square and a two strip segment.
Sew each row together............
The finished block.
See how easy that really was, I think the combination of the colors makes this quilt look more difficult than it really is, it took me less than an hour to put the whole block together. Next month I will try to remember to take photos before I do any sewing. When I look at a quilt that I like I break it down by block then I break each block down to the pieces that make it up, this helps me to see what is involved in the making of the quilt.
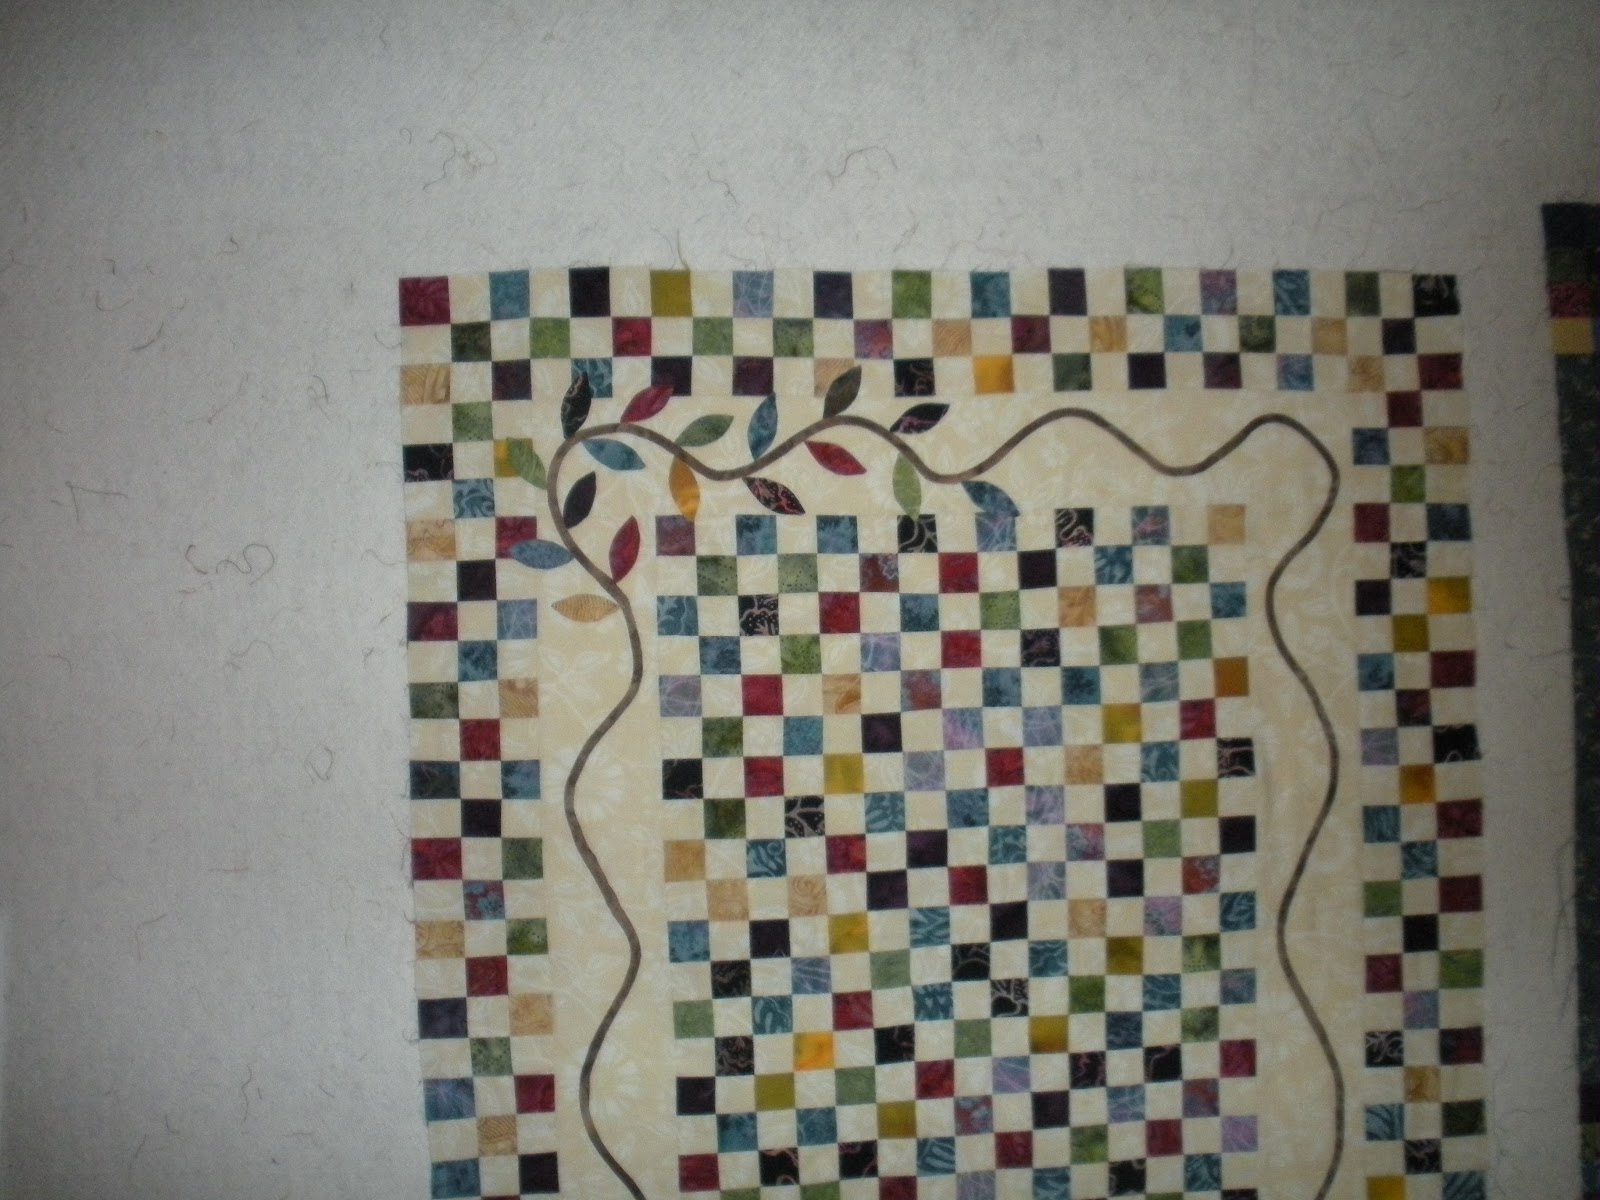
After I completed the above block I moved on to making more of the leaves for the Vintage Scrappy Nine Patch. Below I will attempt to show what is involved in making these applique leaves, sorry that some of the photos are not the best.
The first step is to trace (from the template in the instructions) the leaves onto the freezer paper and cut them out on the lines, here are the cut leaves..........
Next is to select the various fabrics, in this case I was using batik scraps that I used in the quilt.
I then put a
small dot of water-soluble, acid-free glue stick to the middle of the
non-shiny side of the freezer paper leaf and place it onto the fabric, making sure that there is enough fabric around the paper to cut a 1/4" of fabric beyond the edges (you will see what I mean in the next photo), then cut around the paper leaving the above mentioned 1/4".
After cutting the leaves I then took the iron and pressed the edge over onto the shiny side of the freezer paper, the shiny side allows for the fabric to "stick" as you see in the photo below.
You will have to use a small amount of the glue stick to "tuck" the flap on each end of the leaf.
The finished leaves.................
I use a few SMALL DOTS of water-soluble, acid-free liquid basting glue on the edge of the backside of the fabric to attach them to the quilt.
The "dot of glue" goes on each side and at each point..........
Then put in place on the quilt, now it's ready to be appliqued. I did try machine appliqueing two of the leaves and don't really like the look of it on the batik fabrics so I will be doing these by hand.
Hope this was helpful, I am certainly not an "instruction writer" but I hope I didn't leave out any major points, if you have questions just ask. I learned the above "applique prep" from the Kim Diehl workshop, it is also in the front of all of her books.
UPDATE: I will be posting how you remove the freezer paper after the leaf is appliqued to the quilt top in the next few days. Thank you Jackie for letting me know that I forgot that one important step.


I love picking apart quilts and blocks like that! It's amazing how some really complicated looking quilts come down to simple four patches and HSTs! :0)
ReplyDeleteYou leave the freezer paper in the leaf? I would think it would deteriorate and make lumps when the quilt is laundered.
ReplyDeleteBeautiful work! I want to do some applique some day. I've done a little, but would love to do the leaves in the border like yours. There's always something new to try in quilting!
ReplyDeleteBeautiful Work Denise. Looks like you are having fun playing.
ReplyDeleteHave a wonderful week end.
Hugs,
Elizabeth